 |
 |
|
|
 |
Owner: Leon
Bellavance
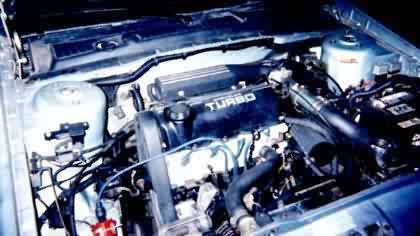
Stats: 1987 Daytona Shelby-Z |
| Installing a '93 or older Cummins Turbo Diesel intercooler in your
Daytona
Written by Leon Bellavance (Pictures throughout do not always match the text they are near - CrB) Step 1. Locate an intercooler from a '93 or older Dodge Cummins Turbo Diesel equipped truck at a local boneyard. Or if you are impatient or independently wealthy, get a brand-spanking new one from your local dodge dealer, like I did (I was tired of looking for a used one). The inter cooler itself measures a total width of 37 1/4" and a height of 12 3/4". The core is 30" wide, and 1 5/8" thick. The passages are 3/16" by 1 5/8". The volume of the intercooler is about 4 times the stock T2 one, and 6 times the frontal area. It cost me $700.30, and you even get a big box!
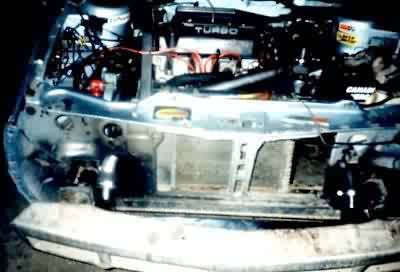
Step 2. Remove the front plastic nose piece from your car. This
involves removing about 10 or so nuts and bolts and about 30 of those stupid
plastic push pins. The the nuts are on the joint of the fender and plastic
piece, and nder the front plastic cover that hides the headlight motors.
The headlight motors and associated hardware will come off with it. Use
side cutters to remove the platic push pins.
Step 3. Remove the aluminum bumper. You will need to remove a
triangular section from the vertical supports to either side of the center
support. I used a jigsaw and a drill. This is to provide clearance for
the upper edge of the intercooler. It will sit at about a 45 degree angle,
with the upper edge actuallly inside the bumper, and the bottom edge nearly
touching the radiator support. You will also need to drill holes in the
supports for mounting purposes.
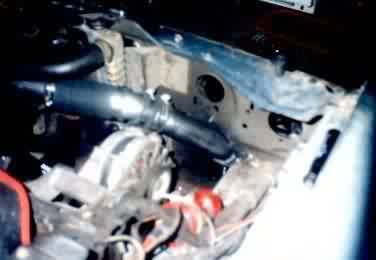
Step 4. Remove all of the mounting brackets for the bumper. you
will need to cut of all of the inside mounting flanges to make room for
the intercooler. It just fits in between the framerails.
Step 5. Cut holes in the radiator support right beside the holes
that the bumper plungers go into. Blaine (86 Omni GLHT) and I used a hole
saw and tin snips. These will be for the tubing going to the throttle body
and turbo.
Step 6. Make some mounting brackets for the intercooler out of
your material of choice. I used 1" by 1/8" aluminum. You can use all of
the factory mounting holes on the intercooler. They are 1/4" 24 threads
(I think). I made 2 L shaped brackets for the top mount and longer ones
for the bottom which happen to attach to some bolts sticking out of the
bottom of the radiator support, I don't know why the factory put them there
either.
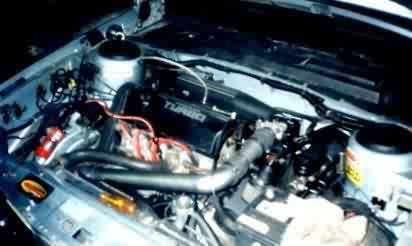
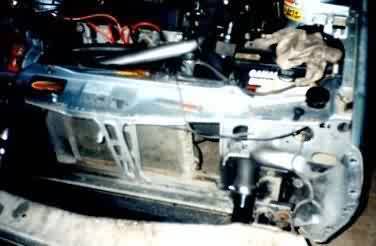
Step 7. Put all the bumper brackets (and bumper) back on the car and then mount the intercooler. Buy a J or U mandrel bend and some staight radiator hose to run the tubing. We used 2 1/4" stuff. The stock lower intercooler hose was used with a small piece of 2 1/4" pipe and a 45 degree pre formed rad hose section. The other side comes up over the alternator and just touches the fan shroud on its way to the throttle body. Make sure the hose clamps are really tight because you'll probably need to remove the nose piece off to get them on again.
I don't have info on exact performance gains, but Blaine and I took it for a spin on Christmas eve with no nose piece on and the car spun all the way to the middle of 3rd gear (it was about -12 degrees Celcius). With the nose piece back on, you can't see the intercooler, and it doesn't come lower than the radiator support. I am going to put some sort of screen on to prevent rocks and small dogs from hitting the thing. With the intercooler at the angle it is, plenty of air can get to it and keep that air charge cold. So far I'm the only person I know of that has done this. If you have questions e-mail my co=worker Blaine Jansen |